MS Access databases are vulnerable to corruption due to many reasons, such as software failure, sudden application/system shutdown, large database size, human errors, and others. However, it is crucial to repair the corrupt Access database file promptly to avoid data loss.
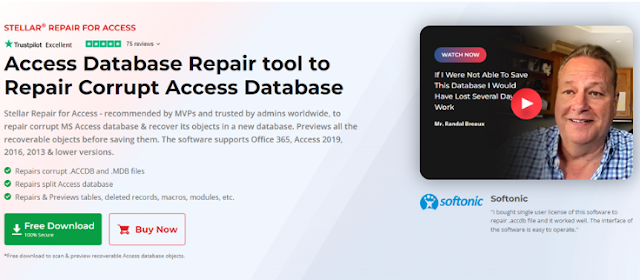
To repair the corrupt Access database quickly and easily, the best option is to use a specialized Access database repair software. Stellar Repair for Access is one such software that can repair corrupt Access database and recover all the data in just a few clicks. Let’s take a detailed look at this software.About Stellar Repair for Access
Stellar Repair for Access is a robust Access database repair software designed to effortlessly repair corrupted Microsoft Access database (.mdb and .accdb) files. It efficiently recovers all the objects, like modules, forms, records, indexes, linked tables, queries, etc. from the corrupt Access database files. Moreover, it can also recover deleted records from corrupt files. Stellar Repair for Access supports all MS Access editions - from 2002 to 2019.Key Features of Stellar Repair for Access
Stellar Repair for Access offers a plethora of features to make the recovery process smooth and quick. Let’s take a look at some key features.- Repairs corrupted Access database files (both .mdb and .accdb) and recovers all the objects, including reports, macros, linked tables, indexes, queries, modules, forms, attachment data types, and relations.
- Allows you to preview the repaired Access database file’s data before saving it.
- Repairs split databases, recovers corrupt linked tables, and restores data from corrupted tables linked with databases from multiple sources.
- Recovers deleted records from Access database files.
- Compatible with multiple MS Access versions - from 2002 to 2019
- Supports all Windows OS versions - from Windows 7 till Windows 11.
- Provides an option to search for specific objects within the repaired database, facilitating precise data retrieval.
- Automatically generates a log report detailing the entire repair process from start to finish.
Editions and Pricing of Stellar Repair for Access
Stellar Repair for Access comes in two different editions.
Professional Edition:
- Available at $99 annually.
- Supports a single system and is suitable for individuals.
- Repairs corrupt Access database files and recovers all the objects.
Technician Edition:
- Available at $149 annually.
- Has all the features of the Professional edition and can be used on multiple systems.
System Requirements for Stellar Repair for Access
To run Stellar Repair for Access smoothly, your system must meet the following minimum system specifications:Processor: Intel compatible (x64)
Memory: 4 GB minimum (8 GB recommended)
Hard Disk: 250 MB space for installation files
Operating System: Windows 11, 10, 8.1, 8, or 7
How to use Stellar Repair for Access?
Let’s see how to repair corrupt Access database files using Stellar Repair for Access.1. Download Stellar Repair for Access from its official site.
2. Launch the installation process by double-clicking on the StellarRepairforAccess.exe file.
3. On the Setup - Stellar Repair for Access window click on Next.
4. On the License Agreement dialog box, check the I Accept the Agreement option and follow the instructions to complete the installation process.
5. After the installation, launch Stellar Repair for Access.
6. Click on the Select Database option from the Home ribbon.
7. Here, you’ll find two options - Browse and Find. Use the Browse option to select the corrupted Access database file (if you know the file location). However, if you are unsure about the location of the file, you can use the Find option.
8. Click on Repair after selecting the file.
9. Once the repair process is complete, you can Preview the repaired data, such as Queries, Tables, Reports, Forms, Modules, Linked Tables, and more.
10. Using the Search option on the Home ribbon, you can search for any specific item.
11. To save the repaired file, click on the Save Database option. You can either save it to the original location or specify another location. Click on OK after selecting the destination.
11. To save the repaired file, click on the Save Database option. You can either save it to the original location or specify another location. Click on OK after selecting the destination.
12. Click on OK on the confirmation pop-up - Repaired File Saved Successfully.
13. A Log Report of the entire repair process will be generated at the bottom of the screen. Using the Save Log option, you can also save the log report to your desired location.


No comments:
Post a Comment