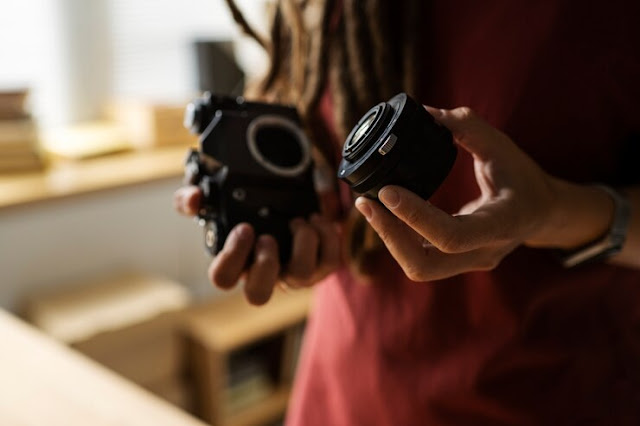
The clarity of the picture makes it possible to appreciate the captured object's beauty and the photographer's creative idea. It's an image that instantly attracts attention with its multi-dimensionality. Mis-focusing, along with a wrongly set shutter speed, can make a photo blurry. And that is the only error that cannot be corrected in post-processing. So today we will talk about how to get your camera to focus perfectly in all conditions!
a). Learn about automatic modes and use them for the most part
All modern cameras have autofocus modes for different situations. Instead of adjusting these manually, try trusting technology. Of course, if autofocus stubbornly "aims" at the model's nose, this needs to be corrected! It's better to move the point of focus to the eyes. So the portrait will look more expressive, and if you want to edit the size or shape of the nose on the photo, traces of interference will not be noticeable. By the way, this is exactly the kind of correction offered by retouchme.com/service/nose-photo-editor.Why is autofocus preferable? Modern viewfinders are poorly adapted to manual adjustment, so a picture that seemed perfect to the photographer initially may turn out blurry on the big screen. Manual focus is only recommended if you are a professional photographer working with exotic or older lenses that lack automatic modes.
The set of built-in focus types may differ for different camera models and manufacturers. But most often there are at least three:
- Single (single-frame) — optimal when shooting still subjects;
- Continuous (tracking) — good if your "target" is moving;
- Automatic — good in situations where the subject/subject may suddenly move.
Some autofocus modes suggest capturing several points in the frame at once. This is not a good solution. If you want a good shot, go for one-point autofocus. "Aim it at the model's eye area (or the nearest eye if you use a half-turn pose). When shooting landscapes or still lifes, focus on the main element. If you want to capture as much space as possible, focus on one-third of the frame.
By the way, get in the habit of eliminating unsuccessful shots right in the process. Zoom in on the camera screen to better look at your finished photos. First? check the areas that should have been in focus. You can try redoing the shot if there is a blur where there shouldn't be.
b). Consider the aperture value
A wide aperture provides the bokeh effect that portrait photographers love so much. Autofocus works great in this case. However, when shooting landscapes, architectural objects, groups of people, the aperture value should be small. In this case, you need to closely monitor which parts of the frame the camera focuses on. Each lens has its own "golden mean" - the aperture value that will provide the best sharpness of the picture. It depends on the environment.Also, consider that a wide aperture (1.2-2.8) contributes to focus shift when recomposing the frame. This needs to be controlled.
c). Remember to focus on the back button
If you are going to take several pictures of a still subject, you can use the back button when "pointing". This way, the camera won't waste time lining up the focus after each shot. The process becomes faster and more comfortable for the photographer.d). Reduce shutter time
When experimenting with settings, inexperienced photographers often choose too long a shutter speed. This means the camera captures the slightest movement: intentional or not. The result can be a fuzzy picture. If you're unsure what you're doing, set the shutter speed to safe values: 1/double focal length, 1/focal length (taking into account the cropped factor), or 1/250. Try each option and choose the best one for your camera.e). Use a tripod
A tripod is a simple and reliable way to help you take crisp, high-quality pictures. However, this accessory is neglected by many camera owners (especially beginner photographers). Even with perfectly matched settings, a slight hesitation of the hand can blur the picture and a beautiful picture will be ruined. Therefore, if conditions allow, use a tripod, preferably a model with a remote control — so even vibrations caused by touching the camera will be eliminated.Ensure the automatic stabilization option (if your camera has one) is turned off. In this case, it will only get in the way. If you have to take pictures holding the camera in your hands, turn on stabilization. This is the "lesser evil" that will help compensate for the small vibrations of the device.


No comments:
Post a Comment